Your Nest thermostat is supposed to make life easier, but sometimes it needs a clean start. Whether it’s freezing mid-season, refusing to connect to WiFi, or acting generally stubborn, resetting your Nest thermostat can solve more problems than you’d expect. This guide walks you through both the factory reset options available in 2026 and what to expect afterward. We’ll cover the display screen method, the hard reset approach, common troubleshooting hiccups, and how to reconnect once the reset is complete.
Table of Contents
ToggleKey Takeaways
- A factory reset on your Nest thermostat solves connectivity issues, schedule confusion, and app unresponsiveness by clearing corrupted settings and restoring the device to factory defaults.
- Use the display screen method for a gentle reset when the thermostat is responsive; reserve the hard reset (power disconnection) for frozen or unresponsive screens.
- A factory reset erases all schedules, learned preferences, WiFi passwords, and app integrations, so you’ll need to reconnect and reconfigure the thermostat as if it’s brand new.
- After resetting your Nest thermostat, carefully re-enter WiFi credentials and verify your router supports the 2.4GHz band, as older Nest models cannot connect to 5GHz-only networks.
- Plan 15–20 minutes for reconnection setup and document your previous schedule preferences to streamline the reconfiguration process after a reset.
- If the thermostat enters a boot loop, let it sit unplugged for a full minute before reconnecting, and allow 2–3 minutes for the device to stabilize before troubleshooting further.
Why You Might Need To Reset Your Nest Thermostat
A reset isn’t always the answer, but when it is, it’s often the fastest fix. Nest thermostats can develop glitches after WiFi outages, software updates, or connection hiccups. If your thermostat is stuck on a schedule it shouldn’t be running, displaying error codes, or refusing to respond to commands through the app, a reset clears out corrupted settings and forces the device to start fresh.
Common signs include connectivity issues where the thermostat disconnects from your home network repeatedly, schedule confusion where heating or cooling runs at unexpected times, and app unresponsiveness where the mobile app can’t communicate with the device. Another scenario: you’ve inherited a house with a Nest already installed, and you want to remove the previous owner’s WiFi credentials and reconnect it to yours cleanly. A factory reset is the right move in that case. It’s also worth noting that a reset is different from a restart, restarting just powers the device off and back on, while a factory reset wipes all settings and returns the thermostat to factory defaults.
What Happens When You Reset Your Nest
Before you hit reset, understand what you’re about to lose and gain. A factory reset erases all schedules, learned preferences, away modes, and connected app accounts. Your Nest won’t remember your preferred temperatures, morning wake-up times, or any customizations you’ve spent weeks tweaking. WiFi passwords, location data, and app integrations vanish too.
What stays intact depends on which reset method you use. A soft reset (via the display menu) preserves hardware and keeps the device recognized on your home network if it’s already connected, you’re mainly clearing software glitches. A hard reset (physical power cut) does a deeper purge: it removes all network credentials, erasing the WiFi connection entirely. Both restore the thermostat to its original, out-of-box state, so you’ll need to walk through setup again as if it’s brand new. If you have a home automation setup with smart home technology news, disconnecting your Nest means other integrations (like Google Home or third-party systems) will lose that device until you reconnect it.
How To Perform a Factory Reset on Your Nest Thermostat
Two methods work depending on whether your Nest is still accessible via its menu. Try the display screen approach first: it’s cleaner and faster. Reserve the hard reset for situations where the screen is unresponsive or frozen.
Using the Display Screen Method
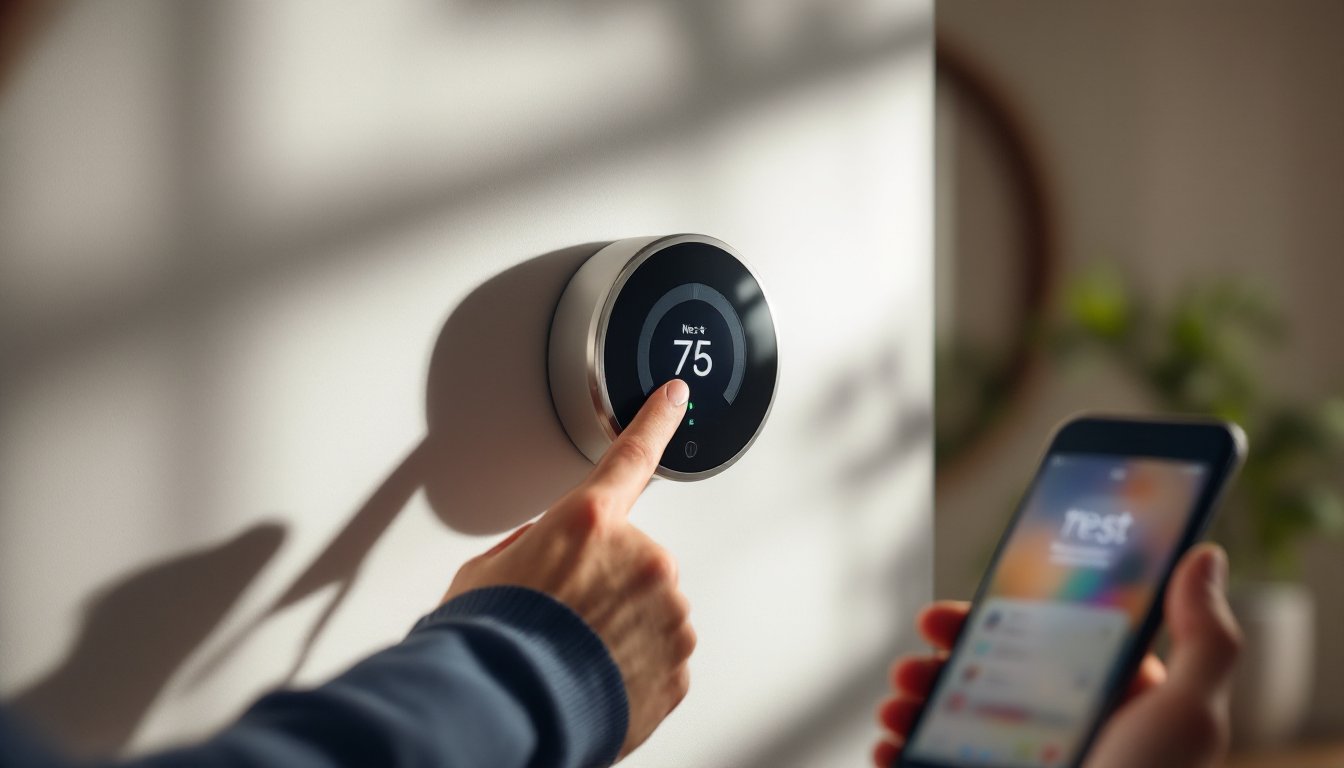
This is the gentler option and works when your thermostat’s touchscreen is responding. Press the ring or button on your Nest to wake it up, then navigate to Settings (usually accessed by pressing and holding the ring for a few seconds until you see the gear icon). Scroll down to Reset and select it. You’ll see options like Reset All Settings, Reset Network, or Restart, choose Reset All Settings if you want a full factory reset. The thermostat will ask you to confirm (some models require you to keep pressure on the ring for 5–10 seconds to prevent accidental resets). After confirmation, the device will show a loading animation for 30–60 seconds, then reboot. Your Nest screen will go dark briefly, then display the startup sequence as if it just came from the box.
Using the Hard Reset Method
Use this if the display won’t respond or you’re stuck in a boot loop. Locate the power connector on the back of your Nest, it’s usually a connector (not a plug you can grab with your fingers). You may need to gently remove the thermostat from its base to access it safely. Disconnect the power cable completely, wait 10–15 seconds, then reconnect it. The screen will flash, show diagnostic info, and then restart. This method clears everything, including WiFi memory, so your Nest will boot up as if it’s brand new. Alternatively, if your Nest is hardwired into your home’s HVAC system (common in many installations), you can flip the breaker controlling the thermostat for 10–15 seconds. Always verify your breaker isn’t also controlling other essential systems before flipping it. Hard resets take slightly longer than display resets because the device has to reinitialize all hardware connections.
Troubleshooting Common Reset Issues
Sometimes a reset doesn’t go smoothly. If your Nest is stuck in a boot loop (cycling through the startup screen repeatedly), let it sit for a full minute after disconnect, power residue in the capacitors can interfere. Then reconnect and give it 2–3 minutes to stabilize. If it’s still looping, try a second hard reset and wait longer before declaring it broken.
Another issue: the thermostat powers on but the screen stays black or shows no response to touches. This usually means the display firmware is corrupt. Perform a hard reset and let the device sit unplugged for 30 seconds instead of 10. Sometimes the hardware needs a longer reset window. If the screen still doesn’t light up after reconnecting, the display itself may be failing, and you’ll need replacement hardware (not a software issue anymore).
WiFi connectivity problems after a reset are common, the device forgets your network entirely. When you see the setup screen, enter your WiFi credentials carefully: Nest is sensitive to typos in passwords. If your router uses a 5GHz-only band, note that older Nest models only support 2.4GHz. You may need to temporarily enable a 2.4GHz band on your router to complete setup, or purchase a newer model. Check your device documentation or router settings if your Nest won’t see your network. Resources like how to factory reset your nest thermostat guides can provide model-specific network troubleshooting steps.
Reconnecting Your Nest After a Reset
Once your thermostat has rebooted, you’re back at square one with setup. The display will show a welcome screen prompting you to select language and confirm your location. Work through the setup flow, it’s the same process as installing a brand-new unit. You’ll need to connect to your WiFi network (your Nest will scan for available networks automatically), then verify your home location so the thermostat can access local weather for smart heating/cooling.
Next, link your Google or Nest account through the smartphone app. The Nest app (available on iOS and Android) guides you through pairing your thermostat to your account so you can control it remotely. Once paired, you can rebuild your schedules, set your preferred temperatures, and re-enable any automations you had before. If you had the Nest integrated with other smart home systems, like Google Home routines, Amazon Alexa routines, or IFTTT applets, you’ll need to re-add those integrations in their respective apps.
Plan to spend 15–20 minutes on reconnection and 10–15 minutes rebuilding schedules if you remember them. If you didn’t document your old schedule, now’s a good time to think through your typical week and set it intentionally. Many people find they tweak their schedules after a reset because they realize their old setup wasn’t actually optimal. Don’t rush the reconnection process: incomplete setup can lead to the same glitches you just reset to fix.